
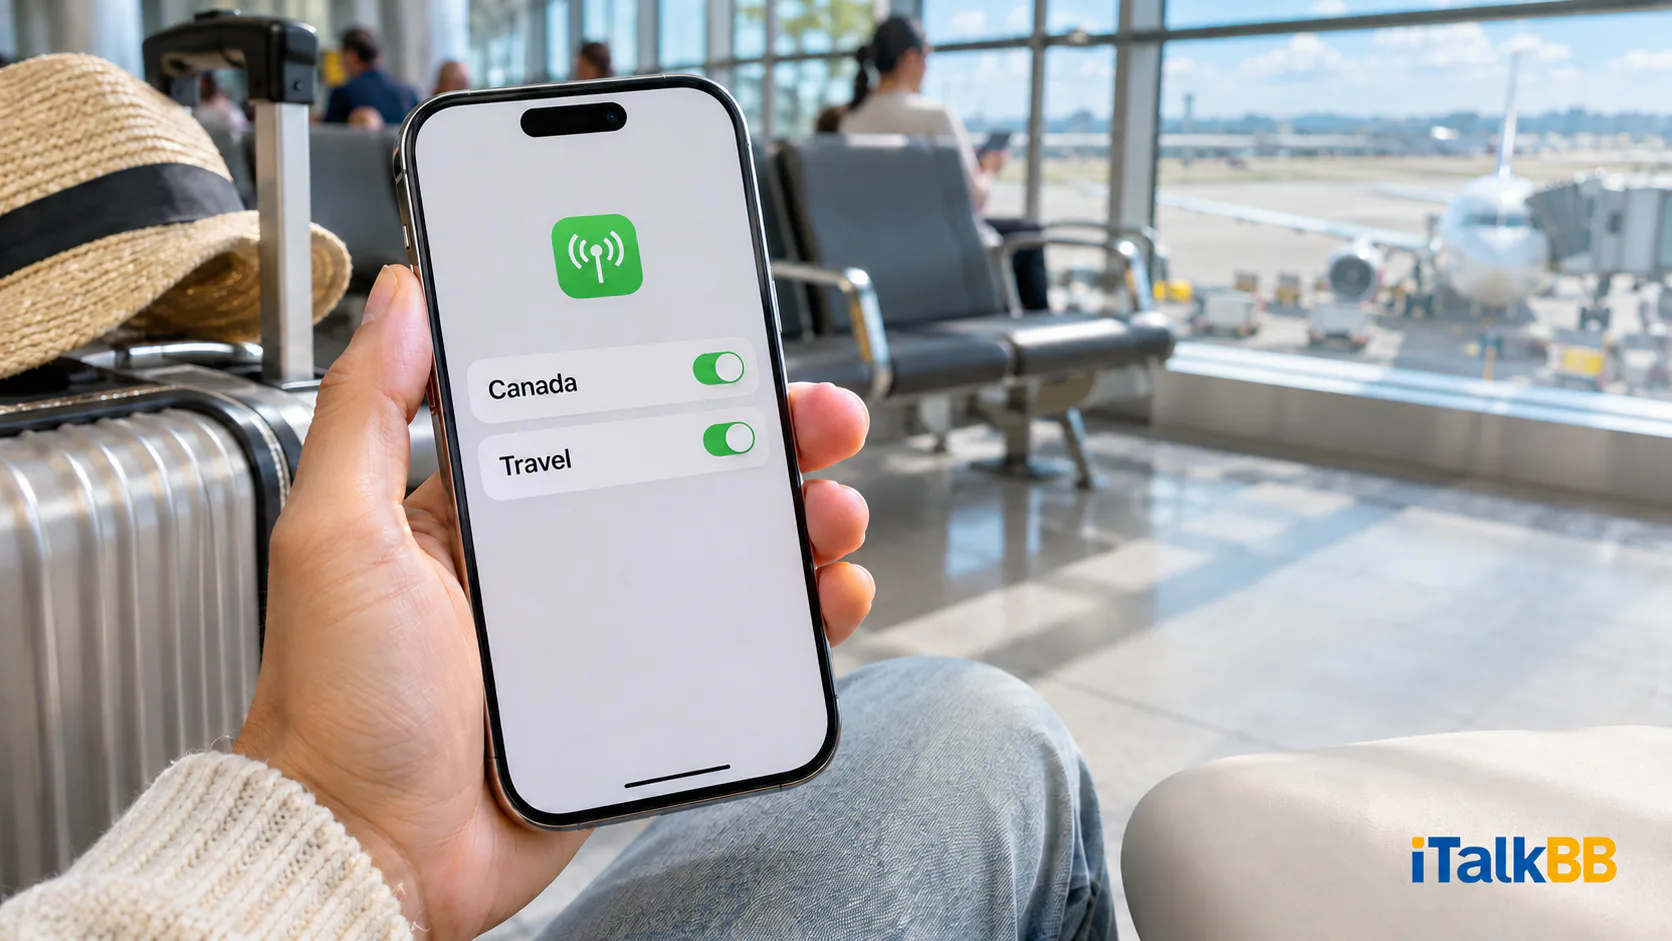
Keep both lines switched on, select the travel eSIM for cellular data, and turn off data switching. Your travel eSIM will handle maps, transit apps and browsing while your Canadian line stays on for calls and texts.
Calls and SMS on the Canadian line remain subject to your carrier’s roaming service and rates; the travel eSIM’s data allowance covers neither. Before departure, check your carrier’s call and text rates for the destination and confirm that incoming SMS is supported if you need verification texts. The CRTC roaming guide explains what to ask.
Check your iPhone, then set up the two lines
You need an unlocked iPhone that supports your combination of two active lines: a physical SIM and an eSIM, or two eSIMs. Go to Settings → General → About and look for No SIM Restrictions beside Carrier Lock. Use Apple’s Dual SIM guide to check the supported setup for your model.
Once the travel eSIM is installed and ready to use, open Settings → Cellular:
- Under SIMs, turn on both your Canadian line and the travel eSIM. Give them clear Cellular Plan Labels, such as Canada and Travel, so they’re easy to tell apart.
- Tap Cellular Data and select Travel. On the same screen, turn off Allow Cellular Data Switching to keep cellular data on the travel line.
- Go back to Cellular, select Canada, and turn off Data Roaming. Leave the line itself on. For the Travel line, set Data Roaming as instructed by your travel eSIM provider.
Switch back when you get home
Back in Canada, open Settings → Cellular → Cellular Data and select your Canadian line. Turn off the travel line when you’ve finished using it.
With the setup sorted, compare iTalkBB’s travel eSIM options and choose one that covers your destinations.